
Amigurumi Pattern Free: Starfish
- Stefani Pereira
- Dec 27, 2022
- 2 min read


Hi everyone, I hope do you feeling well ♡
To start this blog, I brought this free starfish pattern that was a hit on Instagram, so I decided to bring it here too.
Let's go!
ATTENTION! This pattern is free, developed by Stefani Pereira. This pattern cannot be sold or shared by prints. You can sell the final piece, share the blog link and send it to your friends.
Terms and Special Stitches (US Terminology) MR - magic ring
ch - chain
sc - single crochet
inc - increase
dec - decrease
Materials Yarn of your choice
Hook 2.5mm
Polyester fiberfill
Darning needle
Scissor
Optional: 7mm black safety eyes
Black yarn for embroidery
Size
Approximately 10cm
PATTERN
Center of star (2x)
1- MR, 6sc
2- 6inc (12)
3- 1sc, 1inc (18)
4- 2sc, 1inc(24)
5- 3sc, 1inc (30)
The first center of the star finish off. The second one do not close, we will continue making the first point of the star.

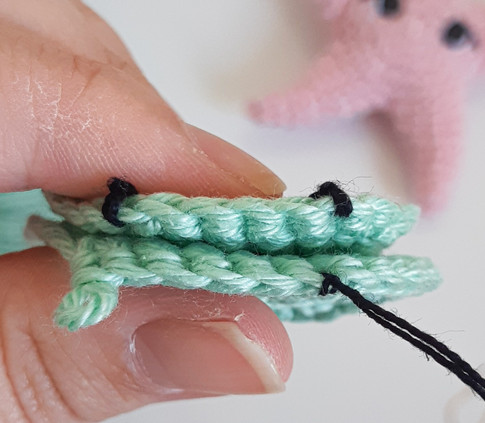


Picture 1 Picture 2
First point of the star
Start the first point of the star in the center that we didn't finish. (Picture 1)
1- Make 6sc, join with the other part of the center of the star and make more 6sc on the other side, totaling 12sc. (Picture 2)
If you have doubts about how to start the point of the star, click here to see the auxiliary video.
Continue the first point:
2- 12sc
3- 4sc, 1dec(10)
4- 10sc
5- 3sc, 1dec(8)
6- 8sc
7- 2sc, 1dec(6)
8- 6sc
Finalize with reverse magic ring and finish off.
Whenever you finish one point of the star, finish with reverse magic ring and don't forget to fill it up a bit.
Other points of the star (4x)
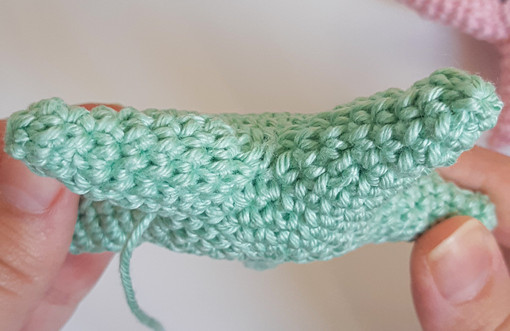
1- The other points we will take a new yarn and start taking the first remaining stitch and make 1 chain, and make 5sc and take more 6sc on the other side for a total of 12sc. (Picture 3)
Then follow the instructions starting from row 2 of the first point of the star. (Picture 4)


Picture 3 Picture 4
Finalization
Between the points of the stars there is an open space, use it to fill and mold if there is no filling in any part inside the star. (Picture 5)
After this is done, sew all the little space between the points of the star and finish off. (Picture 6)


Picture 5 Picture 6
Tips
Before finishing the last two points, place the eyes in the 2nd row from the center, lining up with the top 3 star points.
If you want to add to it, embroider a mouth centered with the eyes.
To make it different, bend the ends by hand... It will turn out cute.

Your Starfish is done!
I hope do you liked this pattern, I made with much love.
Don't forget the share with your friends.
If you made this starfish, don't forget post and tag @cheery_atelie.
Subscribe to our newsletter for receiving the news :D
With love, Ste ♡


Comments